Are you more automatic or manual?
Hi all 👋, Continuing my contribution to the developer community as app maker, today I propose to discuss how to effectively automate tasks.
How many repetitive manual actions do you do each day? Probably a lot! 😐
And why...? Because automating your scattered actions is long and difficult. Don't have time to build and automate a complete process? Neither do I!
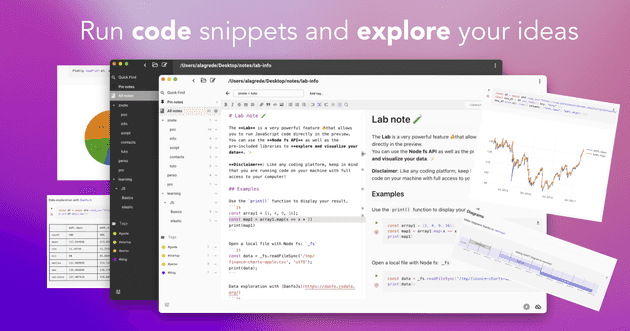
Let me highlight an easy way to quickly automate actions without headache with Znote.
The approach is: Incremental Automation. Write your process down in a note and start coding parts of your tasks. Thus, you can alternate between manual and automated actions.
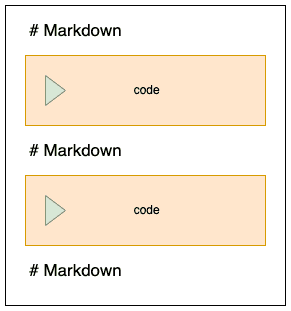
I don't know about you, but personally I'm more comfortable learning by testing and prototyping. For me, the best way to achieve this was to use a Javascript playground using Markdown.
Concept
I adapted Znote to do like Jupyter did with Python, but transposed to the JS world. Plus a super smooth integration between Node and the JS client as well as the entire ecosystem of NPM libraries, for easily viewing code, results, and taking notes between code blocks.
Thanks to this architecture, I am able to gradually and painlessly automate an entire process. Manipulate data across multiple applications. You can smoothly alternate manual and automatic actions, store the results and explain the actions to be taken, and push your automation as far as you want.
Back to our problem
Let's now see with a concrete example how to proceed to build a ready-to-use automation. The best way to do this is to start solving your own problems! So let me expose our first use case.
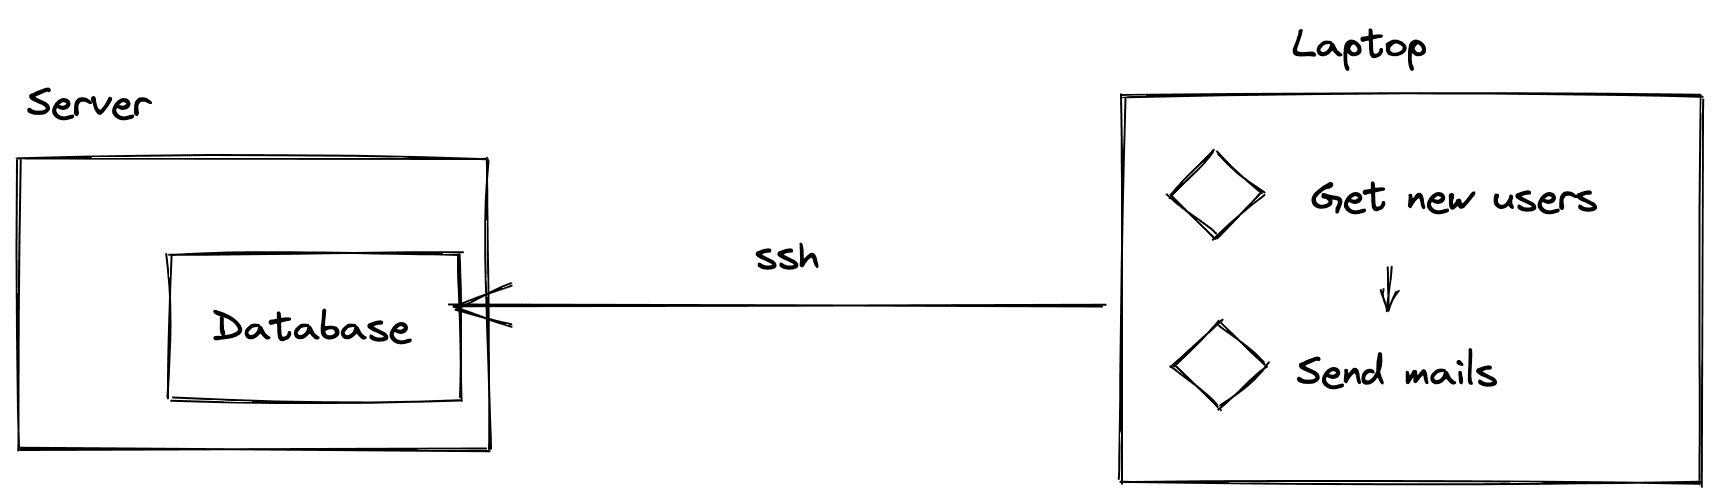
Our use case
When I have new registered users, I had to regularly
- connect to my remote database with SSH,
- manually extract the users with an SQL query,
- copy the results locally and compare with the existing users.
- Once the new users were identified,
- I sent a welcome email to each new member to get their feedback.
Make an SQL query on a remote database
1 - Make an SQL query
async function getSQL(sqlQuery, host, port, user, password, database) {
 const { Sequelize } = require('sequelize');
 const sequelize = new Sequelize(user, password, database, {
    dialect: "mysql"/* one of 'mysql' | 'mariadb' | 'postgres' | 'mssql' */,
    host: host,
    port: port
 });

 sequelize.authenticate();
 const [results, metadata] = await sequelize.query(sqlQuery);

 sequelize.close()
 return results;
}
2 - Make an SQL query with SSH
async function getRemoteSQL(sqlQuery) {
  const { spawn } = require('child_process');

  // connect to server (don't forget to copy your ssh-key on the remote server)
  const ssh = spawn('ssh', [
   '-L', '3307:localhost:3306',
   'user@XXX.ovh.net',
  ]);
  await sleep(4000); // wait connection
  // make SQL query (replace with your credentials)
  const data = await getSQL(sqlQuery, "localhost", 3307, "USER", "PASSWORD", "DATABASE");
  // quit
  ssh.kill();
  return data;
}
You can now just do anywhere in my notes an SQL query against your remote database
const users = await getRemoteSQL("select purchase_email from license;");
printJSON(users)
Identify new users
Then, we want to identify all new users since the query was last run.
function getNewUsers(incomingData, filename, key) {
  const fs = require('fs');
  let refData = [];
  try {
    refData = JSON.parse(fs.readFileSync(filename, 'utf8'))
      .map(element => key(element));
  } catch (err){}

  const delta = [];
   incomingData.forEach(obj => {
    if (refData.indexOf(key(obj))===-1) {
      delta.push(obj);
    }
  });
  printJSON(delta);
  return delta;
}
Send mail
Finally, we can send a mail to each new user. With Google, you need to generate a dedicated credential: https://support.google.com/accounts/answer/185833
function sendMail(recipients) {
const nodemailer = require('nodemailer');
const transporter = nodemailer.createTransport({
service: 'gmail',
auth: {
user: 'XX@gmail.com', // your gmail
pass: 'XXX', // app credential here
},
});
const result = await transporter.sendMail({
from: '"Anthony" <XX@gmail.com>', // sender address
to: recipients, // list of receivers (,)
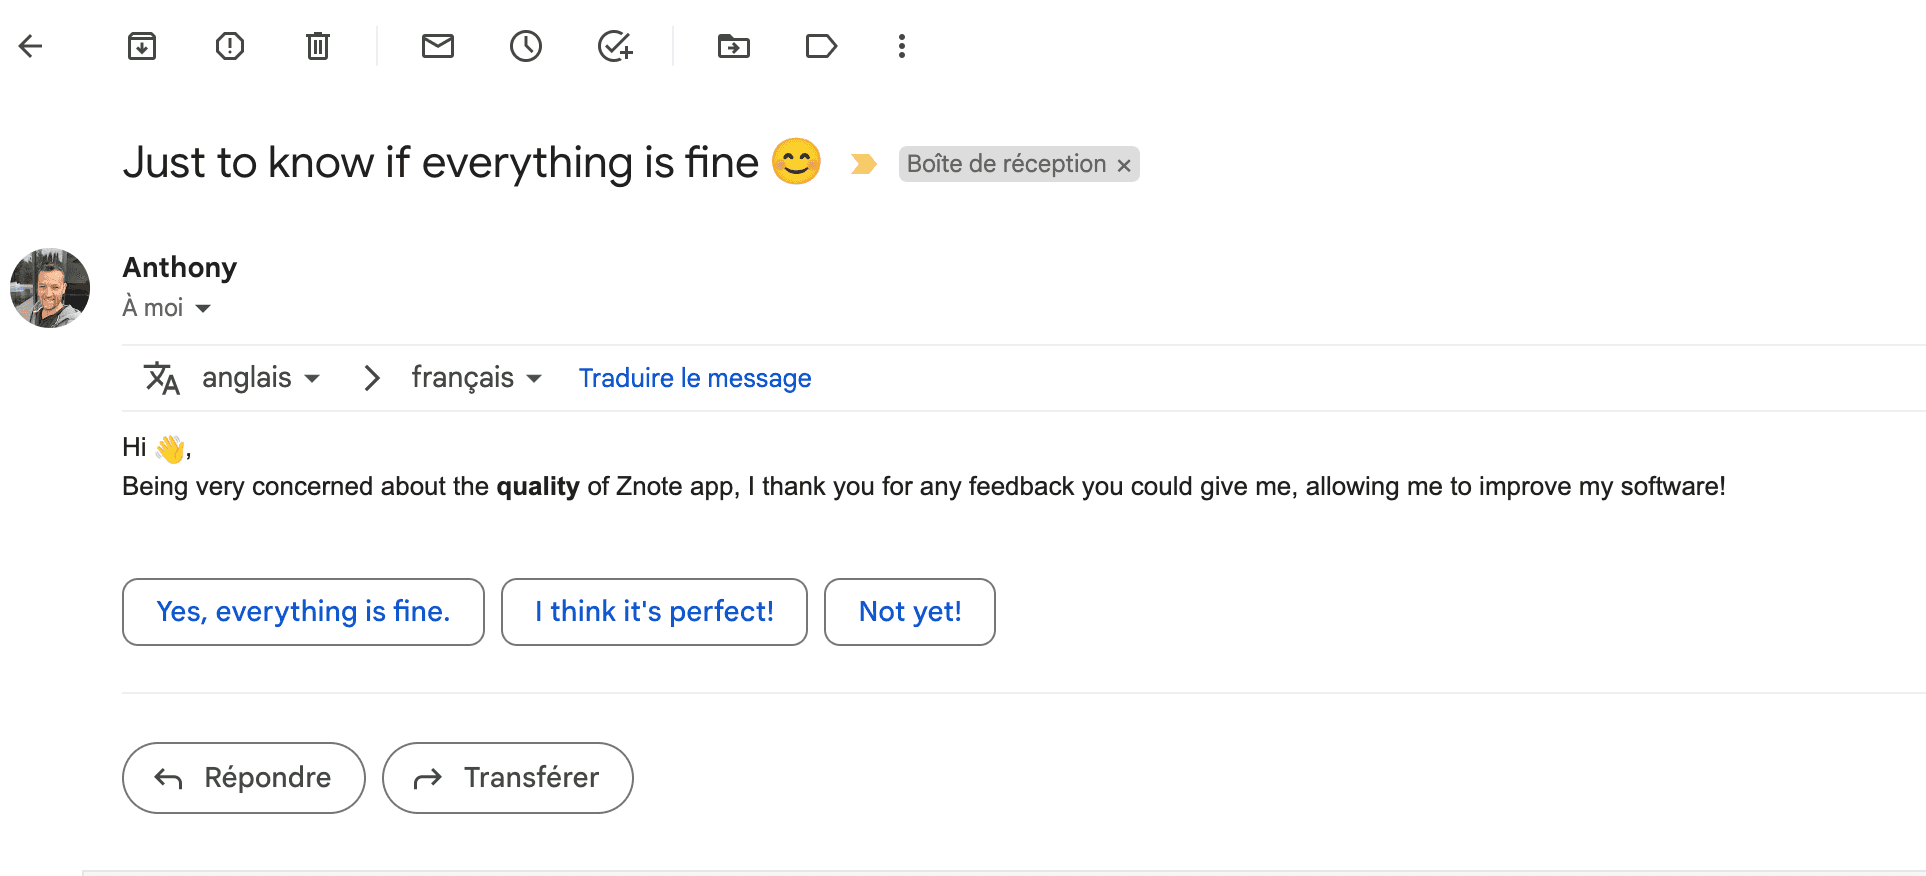
subject: "Just to know if everything is fine 😊", // Subject line
text: "Hi 👋, Being very concerned about the quality of Znote app, I thank you for any feedback you could give me, allowing me to improve my software!", // plain text body
html: "Being very concerned about the <b>quality</b> of Znote app, I thank you for any feedback you could give me, allowing me to improve my software!", // html body
});
printJSON(result);
}Plug everything in 🔌
It remains to describe our process by calling the different functions.
// get all users in remote database
const allUsers = await getRemoteSQL("select purchase_email from license;");
// show new users since last execution time
const newUsers = getNewUsers(allUsers, '/Users/alagrede/Desktop/users.json', it => it.purchase_email);
// write all users in file
fs.writeFileSync('/Users/alagrede/Desktop/users.json', JSON.stringify(allUsers));
// send mail
sendMail(newUsers.map(e=>e.purchase_email));
Tada!!
To summarize
You now have a bunch of reusable functions and an automated process. Since functions can be reused on other notes, you can capitalize on your existing work and continue to create additional processes. Then export your script, ready to run it in a cron.
There are a ton of other ways to do it better, but I hope this example inspired you. 😊
Go further
I will continue to add some examples when you need them.
Meanwhile, start turning your daily tasks into something easy and repeatable and your job will be more fun. 🌈️
Don't forget to check our 👉 documentation website.
If you haven't downloaded Znote yet, it's 👉 download this app here